Queue up an entire weekend of prints. Pause mid-print to drop in magnets or threaded inserts. Swap filament colors between parts. Print Farm mode turns your G-code files into a full production timeline — with automation between every job.
Visual timeline editor with drag-and-drop clip sequencing
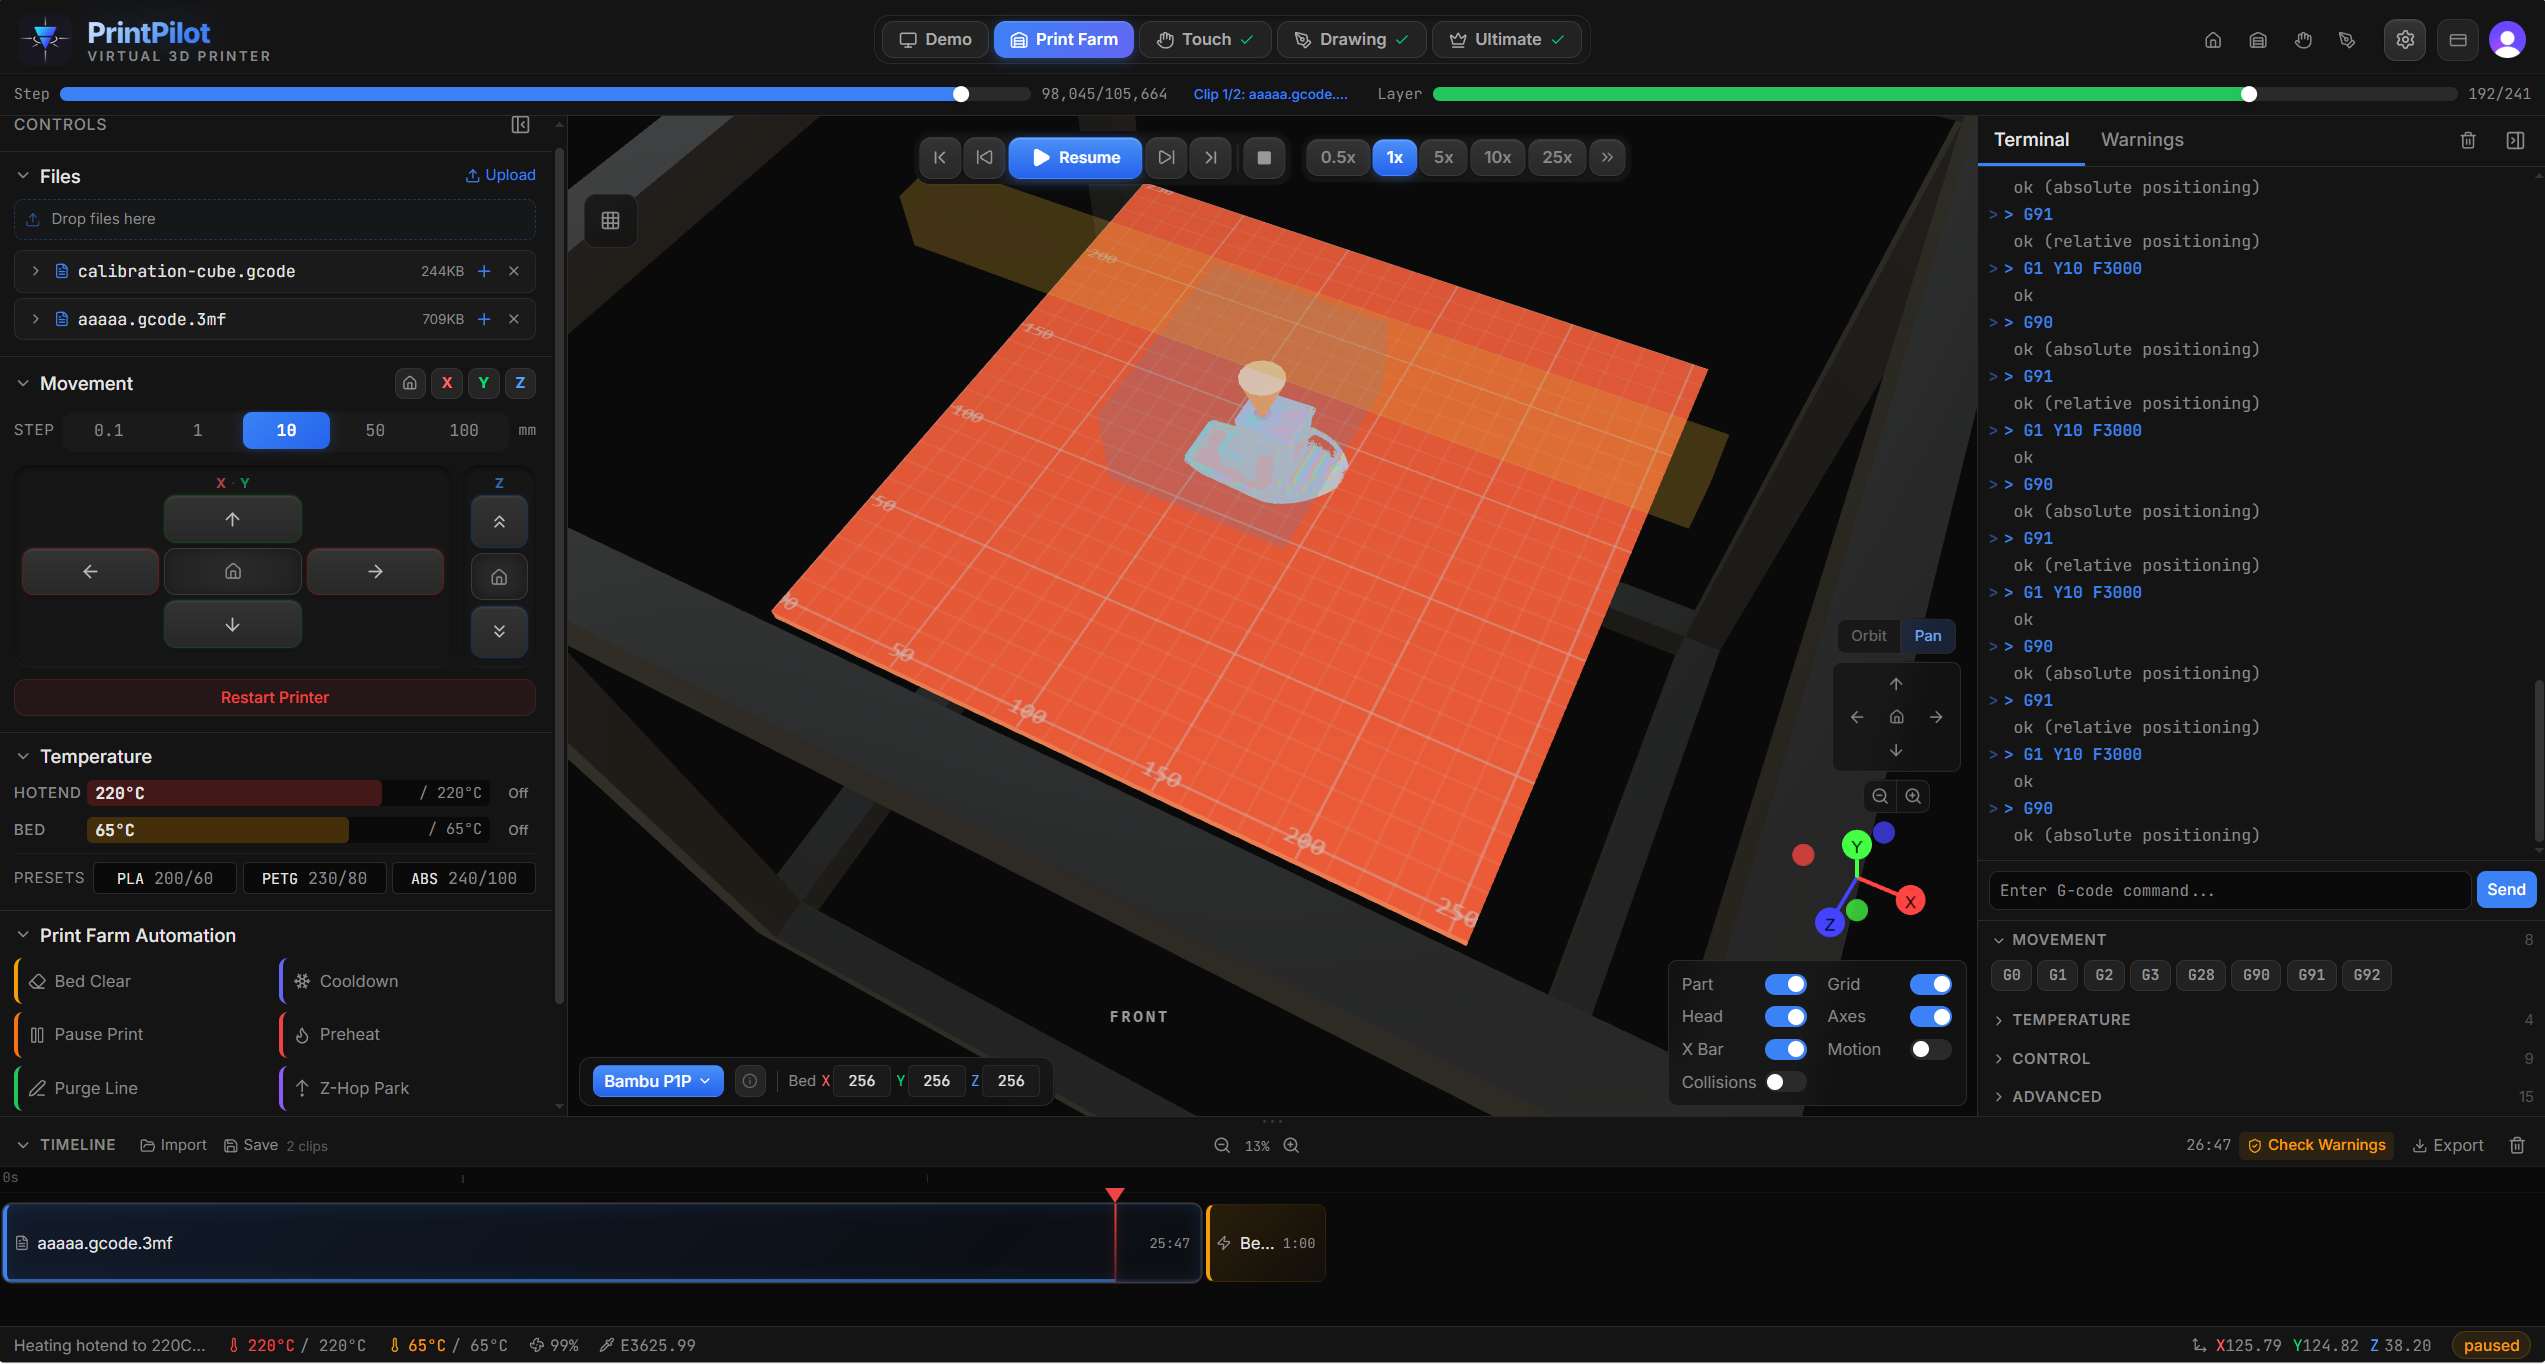
Drop .gcode or .3mf files into the file library. Each file is parsed independently with automatic printer detection from slicer metadata. The first file you upload is automatically added to the timeline.
Arrange print jobs on the visual timeline. Drag to reorder. Insert automation presets between files — bed clearing, cooldown, preheat, purge line. Split any clip at a specific layer to insert a pause for hardware like magnets, bearings, or threaded inserts.
Hit play and watch the entire timeline in real-time 3D. The simulator compiles all clips into a single G-code stream with offset line numbers and layer tracking. Collision detection runs across the full sequence.
Export the timeline as a single .gcode file with clip boundary comments. Load it on your printer's SD card or send via USB. Each clip's start and end is clearly marked in the output so you know exactly what's running.
Drop these into your timeline between jobs, at color changes, or wherever you need the printer to do something specific.
Cool the bed, then push printed parts off with a sweep motion. Configurable sweep speed, direction, and clearance height.
Turn off all heaters and run the part cooling fan until the bed reaches a safe handling temperature.
Heat the hotend and bed to your target temperatures before the next print. Waits until both reach temperature before proceeding.
Prime the nozzle with a purge line along the front edge of the bed. Cleans out residual filament for a clean first layer.
Retract filament and park the nozzle so you can do something mid-print — drop in magnets, press-fit inserts, swap filament colors, or add captive nuts before the next layers seal them in.
Raise the nozzle to a safe Z height and park at the home position. Prevents oozing onto the last printed layer.
Split a print at the exact layer where you need a cavity. Pause, drop in magnets, threaded inserts, bearings, or captive nuts, then resume. The next layers seal everything in permanently.
Don't have a multi-material unit? Split your print at color-change layers and insert a pause preset. Swap the filament, purge the nozzle, and keep going — clean color transitions without extra hardware.
Got 15 Etsy orders to fill? Queue every file with bed clear and preheat between them. Simulate the full run to catch collisions, then export a single G-code file your printer can chew through.
Print 20 wedding favors, party gifts, or custom keychains in one session. Each part auto-clears and the next one starts with a fresh purge line and preheated bed.
Print the same part at 3 slightly different scales back-to-back to find the perfect fit. No re-slicing between runs — just drag all three files into the timeline and go.
Load up Friday night, come back Monday. Chain your whole backlog with cooldown and preheat presets so the printer handles the transitions between every job.